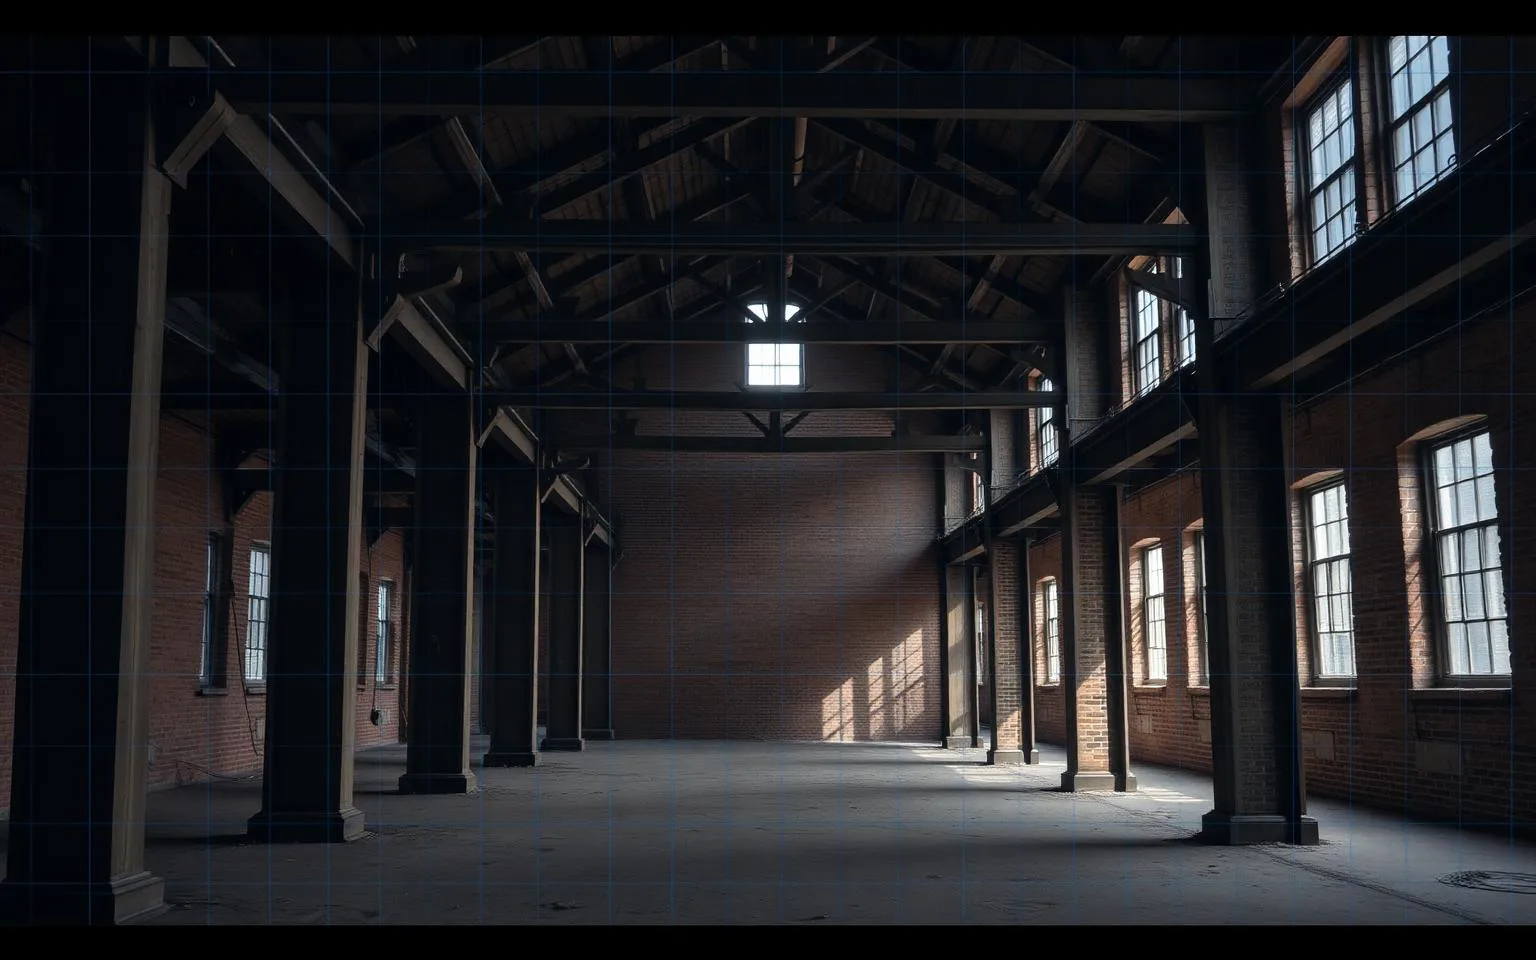
TL;DR
TL;DR: On adaptive reuse, scanning before design converts hidden-condition risk into a measurable model — clashes resolved in software at roughly $500 instead of roughly $15,000 in the field. In the guide's 80,000 sq ft worked example, a ~$28,000 scan-plus-model spend offsets an estimated ~$113,000 in avoided clashes, delay, and waste.
The greatest threat to an adaptive-reuse pro forma is what you can't see. In greenfield development you build from a blank slate; in adaptive reuse the building dictates the rules — and the rules are often hidden behind decades of drywall, layered MEP, and out-of-plumb structure. This guide makes the case that reality capture is not a line item but risk management: by investing in LiDAR scanning and scan-to-BIM modeling *before design begins*, developers convert a building's unknowns into a millimeter-accurate digital model that architects, engineers, and trades all work from. Conflicts get resolved in software rather than in the field, fabrication runs in parallel with demolition, and material orders match measured reality.
Three numbers frame the argument:
| Figure | What it means |
|---|---|
| ~30× | Typical cost ratio of resolving a clash in the field vs. in design |
| 8–15% | Common change-order overrun range on adaptive-reuse projects |
| ±5mm | Survey-grade precision delivered by modern terrestrial LiDAR |
Developers who rely on outdated 2D drawings, manual tape-measure surveys, and educated guesses are not pricing risk — they are absorbing it. The result is a familiar pattern: structural conflicts discovered mid-demolition, ducts that don't fit the shaft, fabricators waiting on field verifications, and change orders that quietly erode the construction budget.
This is the web version of ZEALOT's 9-page developer guide; the designed PDF is available as a free download at [/adaptive-reuse-guide](/adaptive-reuse-guide).
How does scan-to-BIM actually work?
Scan-to-BIM is a two-step workflow that bridges physical reality and digital design — and understanding it is the prerequisite to understanding its value.
Step A: LiDAR scanning
A LiDAR scanner emits millions of laser pulses per second, measuring the exact distance to every visible surface within range. The output is a point cloud — a dense, millimeter-precise 3D digital replica of the space that captures every sagging beam, deflected floor slab, and exposed MEP run as it actually exists. Not as it was drawn decades ago. Not as the previous tenant remembered it. As it is.
On site, a field technician sets up the scanner at a series of stations through the building, capturing each station in roughly a few minutes. The individual scans are then registered together in software into one continuous, coordinated point cloud spanning the entire space. Elevation-colored views of that cloud reveal structural deflection and floor irregularities that legacy drawings cannot show.
Step B: Scan-to-BIM translation
A point cloud is just geometry. Scan-to-BIM is where Virtual Design and Construction (VDC) engineers trace the cloud inside Autodesk Revit and convert millions of dots into intelligent objects. A pipe is no longer a sequence of points — it is a pipe, with a diameter, a material, and a connection schedule. A wall is a wall with a fire rating. The result is a foundation every downstream design decision can sit on: architects and engineers no longer guess at what's behind the wall — they design around what's actually there.
What typically gets modeled
- Structural elements — columns, beams, slabs, foundations, lateral systems, and historic framing
- [MEP infrastructure](/services/mep-scanning) — pipe runs, ductwork, electrical conduit, sprinkler systems
- Building envelope — exterior walls, window and door openings, roof geometry
- Interior conditions — partitions, ceiling heights, floor flatness, finishes
- Site context — adjacent structures, grade changes, access constraints
- Historic features — preserved elements, masonry detail, and anything the AHJ may require documented
(How much detail each element carries is a scoping decision — see LOD 200 vs 300 vs 400 for scan-based Revit models.)
Where does margin leak on an adaptive-reuse project?
Three phases, three places margin tends to leak — and three places a scan-based model protects it.
A. Pre-construction: design against reality
Architects designing on faulty 2D as-builts may design systems that physically cannot fit. With a scan-to-BIM model, the design team works against actual conditions — out-of-plumb walls, deflected beams, existing penetrations — and software-based clash detection catches conflicts before a single hammer swings.
The ~30× rule (approximate): industry estimates suggest that resolving a major MEP or structural conflict in the design phase costs roughly $500 on average. The same conflict resolved in the field — with crews on site and trades scheduled — averages closer to $15,000. Specific figures vary widely; the directional difference is consistently meaningful enough to inform planning.
B. Construction: reduce surprise change orders
Change orders driven by "unforeseen conditions" are a familiar pattern on adaptive-reuse projects. Scan-to-BIM helps eliminate the spatial unknowns that cause many of them:
- Parallel prefabrication. Steel, glass, and millwork can fabricate against the model in parallel with demolition — rather than waiting on field verification.
- Better takeoffs. Volumetric data informs concrete, drywall, and flooring orders with measured rather than estimated quantities.
- Fewer RFIs. A single 3D source of truth helps keep crews working instead of waiting for clarification on routing or fit.
C. Post-construction: a permanent record
The as-built BIM has a second life. Years after delivery, facilities teams can use the model to locate concealed infrastructure without exploratory demolition. The model becomes a long-term operational asset.
What does clash detection look like in practice?
One of the more expensive moments in an adaptive-reuse project is the one where a contractor stops work to call the architect about a duct that won't fit. In a clash-detection environment like Navisworks, that same moment happens weeks or months earlier, in software. A representative example from the guide: a proposed 24×12 supply duct intersects an existing W14×30 steel beam captured in the scan — flagged as a hard clash with an overlap volume of 0.018 m³. Caught in the model, the design team reroutes the duct in an afternoon for roughly $500. Caught in the field, the crew stops, an RFI cycle begins, fabrication restarts, and the schedule slips — closer to $15,000, about 30× more.
"Reality capture is risk management — paid upfront, in known dollars, against unknown problems."
The savings developers tend to talk about most are the ones that never appear on an invoice: the change order that didn't happen, the week of crew time that wasn't lost waiting for an RFI to resolve, the structural reinforcement that wasn't needed because the original beam location was actually known. These show up in the project's final P&L as the absence of bad numbers, not the presence of good ones.
What is the ROI of scanning an adaptive-reuse project?
Consider a hypothetical adaptive-reuse project: an 80,000 sq ft historic mill converted to lofts and retail, with a ~$12M construction budget and a standard 10% contingency (~$1.2M). The table below illustrates how project costs might shift under two approaches. All figures are approximate and illustrative — actual outcomes vary by project, market, scope, and trade.
| Phase | Traditional approach | Scan-to-BIM approach | Approx. impact |
|---|---|---|---|
| Upfront as-built | ~$8,000 — manual 2D survey | ~$28,000 — scan + Revit model | −$20,000 |
| Clash resolution | 4 major clashes in field @ ~$15K each = ~$60K | 4 clashes resolved in design @ ~$500 each = ~$2K | +$58,000 |
| Schedule | Sequential fabrication adds ~2 weeks | Prefabrication parallel to demo | +$40,000* |
| Material waste | ~10% standard waste on finishes | ~3% waste with measured takeoffs | +$15,000 |
| Approx. net positive impact | ~+$93K |
\*Assumes general conditions and carrying costs of approximately $20,000 per week. Schedule savings vary widely by project type, capital structure, and market conditions.
The headline number (approximate): ~465% illustrative ROI. A ~$20K incremental upfront investment helps prevent an estimated ~$113K in downstream costs — an approximate net gain of ~$93K in this scenario. The example is illustrative only; actual results depend on building condition, scope, market, and trade variables outside any single vendor's control, and no specific savings, schedule outcomes, or returns are guaranteed.
Why does protecting the contingency matter more than the ROI?
Spending ~$20,000 to potentially avoid ~$113,000 in predictable overruns has a second-order effect that matters more to many developers: the ~$1.2M contingency remains intact for surprises no technology can predict — latent environmental conditions, hidden hazardous materials, permitting delays, tenant-driven scope changes. The contingency line was never meant to absorb dimensional errors and clash resolutions; scan-to-BIM helps keep it available for genuine unknowns.
The bottom line
In adaptive reuse, the building itself is the variable. Traditional methods can leave developers exposed to compounding inaccuracies, schedule delays, and margin-eroding change orders. Reality capture is no longer specialty work reserved for megaprojects — for developers focused on protecting margin, accelerating delivery, and modernizing their asset portfolio, scanning the existing condition is becoming a practical first step: a way to convert one large category of project risk into a known, manageable cost. The question is rarely whether scanning helps. It is whether your next project can afford to start without it.
For real-world applications of this workflow, see our case studies on a warehouse-to-lofts conversion in Mansfield, Ohio and scan-to-BIM for converting historic buildings to apartments, or the adaptive reuse industry page.